I am typically not one to use image manipulation programs (Photoshop, GIMP, etc.) to enhance my photographs. I believe in a natural preservation of the way things are when I'm painting with light. Althea Hendricksen would agree with me fully.
However, there are situations in which I will give in to photo-editing: (1) if my client asks for the removal of a coincidental blemish, or (2) for the sake of artistic touch. However, in the sense of artistic touch, I believe the photographer should always be clear and honest about the manipulation.
High Dynamic Range
Occasionally there are some scenes which the eye can catch fully, but the camera cannot. Our cones and rods can adjust high-contrast image to be well-exposed in all areas, but the moment you take a picture of it, one part is either too under-exposed or over-exposed. I won't go into too much more detail here, because you can scour the internet for yourself on techniques for how HDR photographs are produced. In short, however, you need evenly-exposed, under-exposed, and over-exposed images. The images are registered, and certain masking techniques are used to bring out the best of all the photos for an image with full detail. The rest, of course, is playing with it and getting the settings to be exactly as you want them. Just do a Google Image search to see some
HDR examples.
Image Registration
The hardest part is registering the images, or exactly overlaying them, so that all details line up perfectly. If you have a tripod, great! If not, and you took the images by hand, I recommend using
GIMP and
this Exact Aligner script because you will inevitably have moved or rotated when you took the photos. I've left a comment on there for how to get the best out of the script as well.
My HDR Attempts
Okay, now for some examples of the fun I had trying to produce some HDR photography last night. The first example was taken in San Luis Obispo at
Cheng Park downtown. Figure 1a shows the evenly exposed photo, no editing. Figure 1b shows the image after HDR techniques.
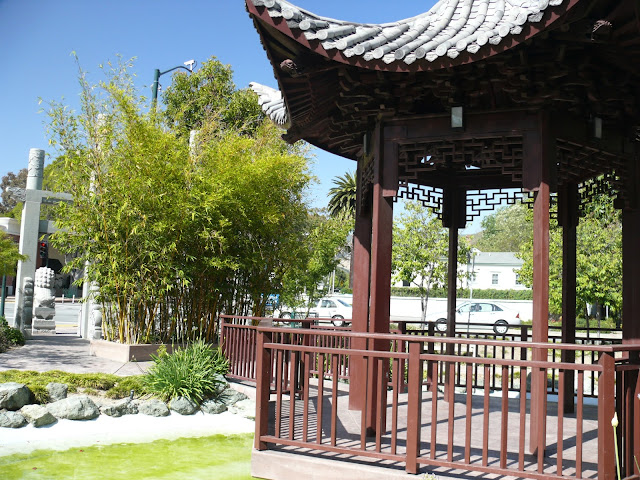 |
| Figure 1a: Evenly exposed image of Cheng Park, San Luis Obispo, CA |
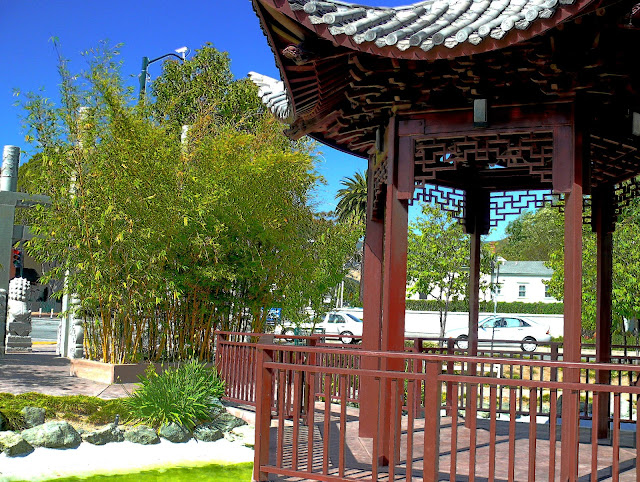 |
| Figure 1b: HDR enchanced image of Cheng Park, San Luis Obispo, CA |
This second example shows a classic shot of Yosemite that I took when I was there last summer in June. Figure 2a shows the evenly-exposed image, and Figure 2b shows the HDR enhanced image. I think out of the two HDR enhancements I attempted, this one is probably my favorite, though it strays a bit from pure HDR with my use of some filters to create a more "painted" feel.
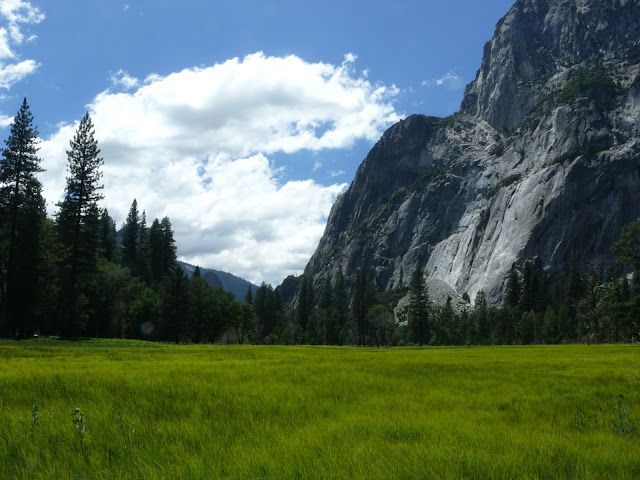 |
| Figure 2a: Evenly exposed image of Yosemite National Park, CA |
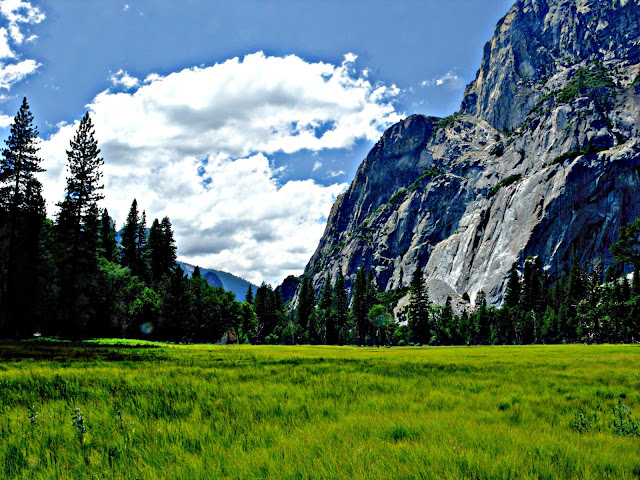 |
| Figure 2b: HDR enhanced image of Yosemite National Park, CA |
Hope you enjoy the work.


In the second example, could you say something about what causes or how to fix/prevent the dark and light halos in the sky/background? Is it related to JPEG edge noise?
ReplyDeleteUnfortunately, I'm not an expert in this style of photography/editing. Looking back on these photos, I'm not too pleased with the outcomes.
ReplyDeleteSince the halo-ing doesn't show up in the first examples, they must be an artifact from applying filters. In fact, I opened up the original .xcf and that's definitely because of using a filter after the HDR was compiled. I couldn't tell you what filter, but if you email me at webershots[at]gmail[dot]com, I'll be happy to send you the original gimp file to look at.